Tips & Tricks 22
|
For instructions on how to paint these pieces, take a look at our Rock Wash Painting Instructions page. |
|
How To Assemble Mold #83
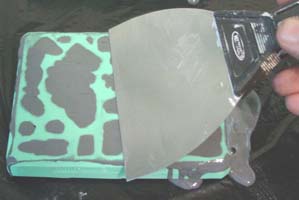
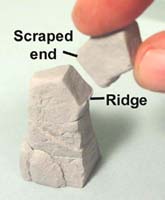
| 1. | When casting mold #83, be sure to scrape it completely flat! You do not want any plaster humping up out of the pockets of the mold. If any plaster rounds upward then your blocks will not fit together correctly. Scraping off a little too much is OK. The pieces will still fit together if the bottom of them is a little concave. |
 |
|---|
| 2. | If any of the blocks hump up on the bottom, you can lightly sand the bottom to make them flat. If the bottom is concave, do not sand off any ridges around the outside edge of the piece. Removing these ridges will make the piece too short to fit well. |
 |
|---|
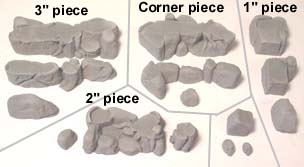
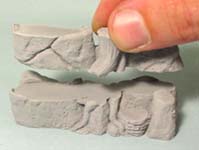
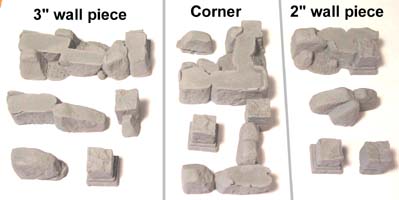
| 3. | These are the blocks you will get with one casting of the mold. These have been cast in dark gray dental stone. If you happen to cast mold 83 and 84 at the same time, then I strongly suggest you group together the blocks from mold 83 and put them in a separate pile from mold 84. This will make sorting the blocks a lot easier. You will find that sorting the blocks is a little more difficult with these molds. |
 |
|---|
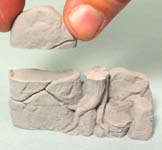
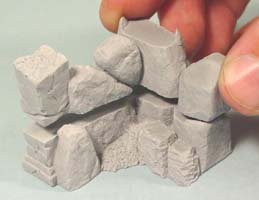
| 4. | The 3" wall pieceGlue the ridge piece on top of the base. Cap it off with the small top piece shown. This piece will make a 3" long straight section of wall. |
 |
 |
 |
|---|
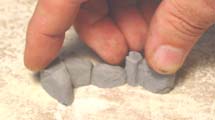
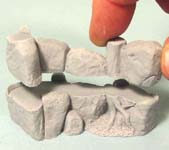
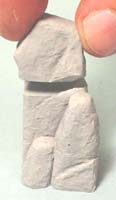
| 5. | The corner pieceGlue the ridge piece on top of the base. Glue the small rock onto the upper left top of the base. |
 |
 |
 |
|---|
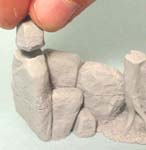
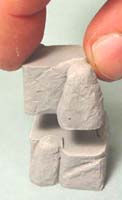
| 6. | The 2" step builderGlue the small rock onto the left of the piece. Be sure it's facing the correct way. Glue the tree trunk onto the other side of the piece. |
 |
 |
|---|
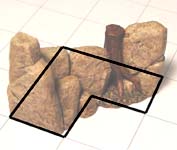
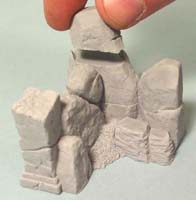
| 7. | This is what the finished step builder piece looks like when painted. This piece is meant to cover the 2 squares shown on the grid. This piece can also be used to make a circular stair section by stacking up floor tiles around it as shown. |
 |
 |
|---|
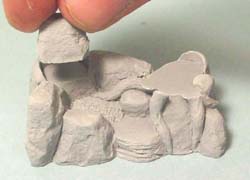
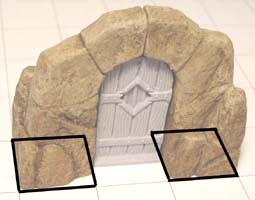
| 8. | The 1" piece and door archStack and glue the rock pieces onto the base. This block can act as a 1" square wall section or space filler. If you want to make a door arch, glue the small angle stone onto the flat top corner as shown. Be sure to place the scraped side of the angle stone against the rock below. |
 |
 |
 |
|---|
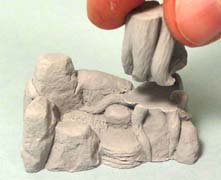
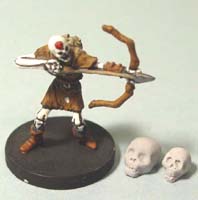
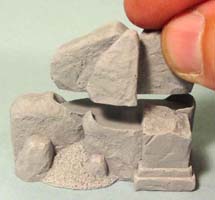
| 9. | I have also added a small ridge on the rock below to help you know exactly where the angle stone goes. Once two of these arch halves are facing each other, it will make a 1" wide doorway arch. The door shown here is from mold #282. I've also included a couple of skulls on the mold. I've placed them next to a 25mm figure for reference. |
 |
 |
|---|
How To Assemble Mold #84
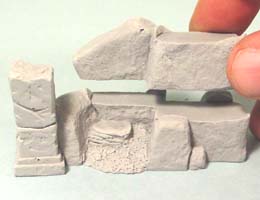
| 1. | These are the blocks you will get with one casting of the mold. These have been cast in dark gray dental stone. If you happen to cast mold 83 and 84 at the same time, then I strongly suggest you group together the blocks from mold 83 and put them in a separate pile from mold 84. |
 |
|---|
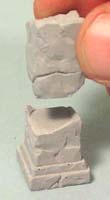
| 2. | The 3" wallStart by gluing the short column onto the base. Then glue the long top section onto the base and add the top cap. |
 |
 |
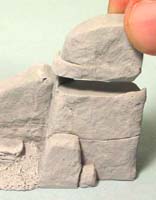 |
|---|
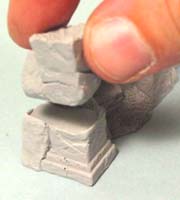
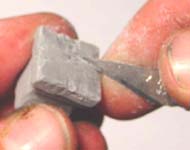
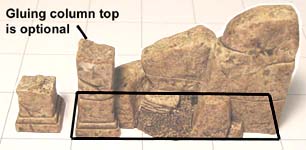
| 3. | If you want to glue on the pillar top, be sure to chip the top with a hobby knife since the top is the scraped side of the piece. You can choose to not glue the column top so it can be used as rubble instead. |
 |
 |
|---|
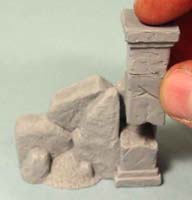
| 4. | The corner pieceGlue the top "L" shaped piece onto the "L" shaped base shown here. Finish the piece by gluing on the top rock in the center corner. |
 |
 |
|---|
| 5. | This piece also has a column top. Be sure to chip the top with a hobby knife since the top is the scraped side of the piece. You can choose to not glue the column top so it can be used as rubble instead. |
|
 |
|---|
| 6. | The 2" wall pieceGlue the top onto the base. Also glue the 2 parts of the pillar together. The pillar can be glued to the base or used separately as a ruined pillar. |
 |
 |
 |
|---|
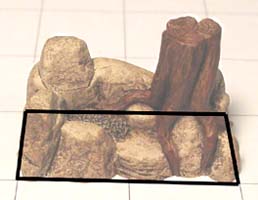
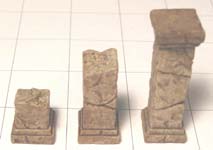
| 7. | Here is what the complete 2" wall section looks like. The long section of this pillar can also be used with the other pillar caps to make a complete pillar on its own. |
 |
 |
|---|
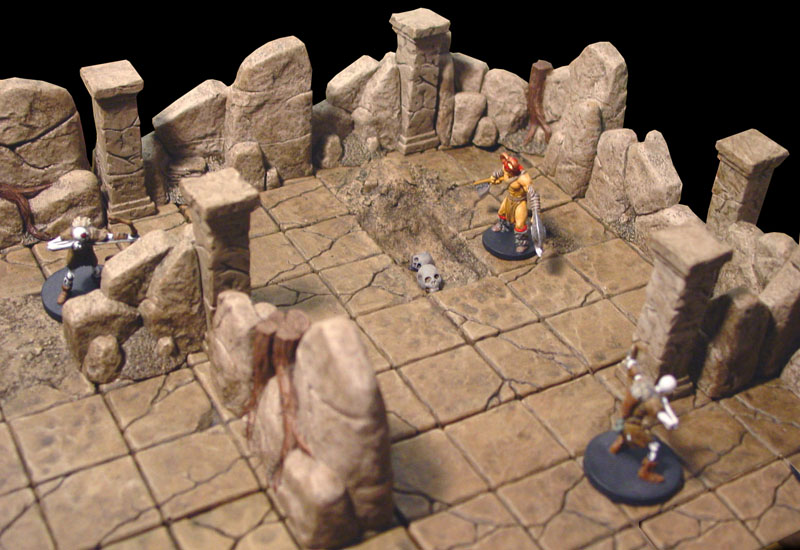
Sample Layouts Using the Molds
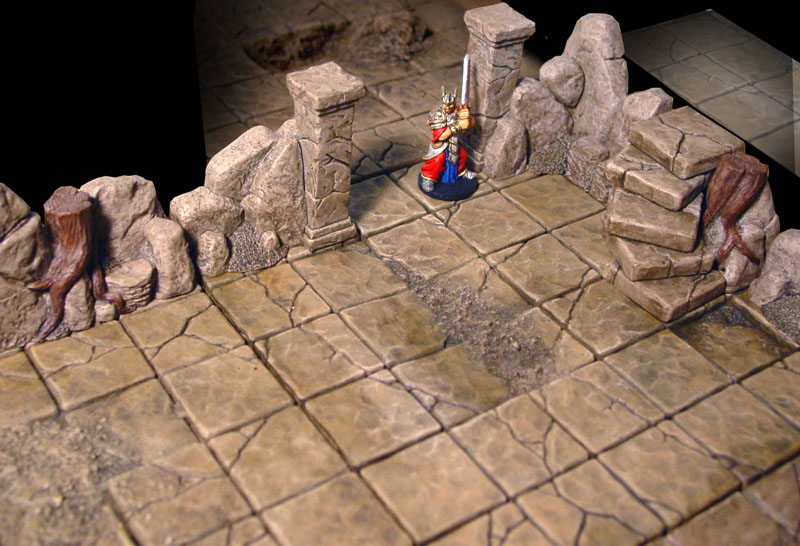
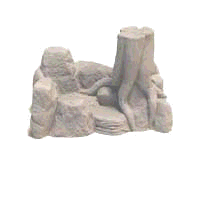
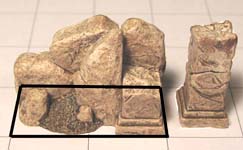
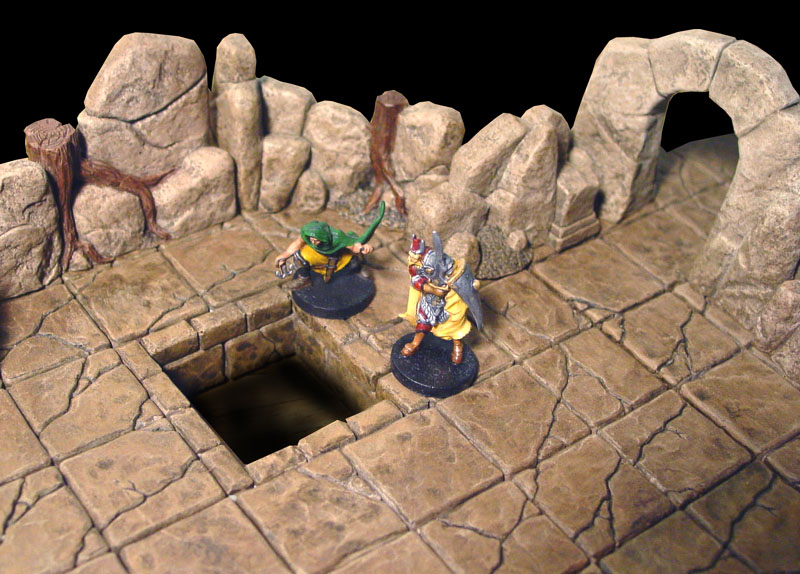
Here are a couple of sample layouts using the rock cavern root and pillar molds. Click on a photo to see a larger version of it. The floors you see are from mold #203, the cracked floor tile.
For instructions on how to paint these pieces, take a look at our Rock Wash Painting Instructions page.
In the future I will show step by step building instructions for making a complete cavern layout. In the meantime I have some other cavern molds and accessories to work on that will fill out the cavern line of molds.
 |
 |