Detailed Dungeon Pieces Page 7
 |
 The Pool |
 A Few Photos |
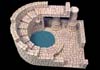
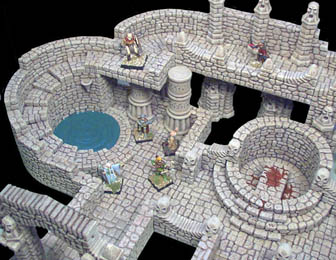
The Pool
| 1. | The special pieces shown from mold #73 are 3 transition pieces. From mold #72 you will need 4 of the flat floor tiles. From mold #70 you will need a torch sconce and from mold #80 you will need the large column pieces shown. Glue together the floor tiles to form the base, as shown in the second photo. |
 |
 |
|---|
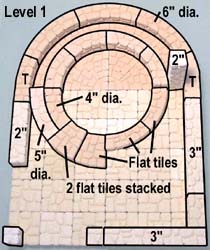
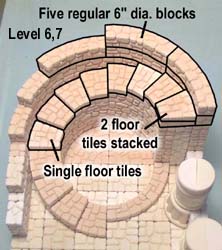
| 2. | On level 1 the pieces marked with a "T" are transition pieces. You will need a 5" diameter block from mold #72 in the first photo. This helps fill the gap under the stairs. There is also a 2" long block standing on end. The first 4 steps will be made up of floor tiles. Some are single and some are 2 tiles stacked together. |
 |
 |
|---|
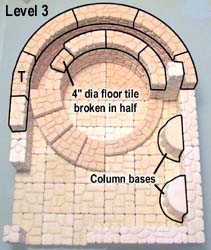
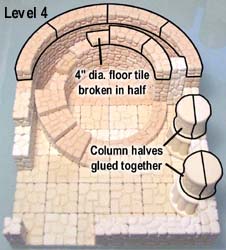
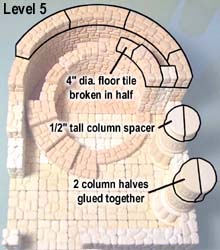
| 3. | On level 3 the piece marked with a "T" is a transition piece. There are a few places you will need to snap a 4" diameter flat tile in half. These will be placed under the floor tiles to help them step up as they should. On level 4, glue 2 halves of the columns together and place them on the column bases. |
 |
 |
|---|
| 4. | Continue adding blocks as shown. One column will continue up with another column block. The other column will use the 1/2" spacer block. We will end up setting a walkway on top of this column. Add the floor tiles to make the steps. The top step is actually 2 flat tiles stacked together. Don't worry if there are gaps under the steps. Once the model is painted you won't really see them. |
 |
 |
|---|
| 5. |
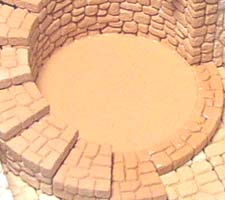
We're going to use plaster for the pool. Spray the pool area with water. You must really soak it for this to work. Spray the area several times, each time letting the water soak in until the area stays shiny and wet. |
 |
|---|
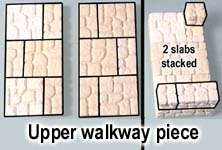 For the upper walkway, glue together floor tiles to make 2 slabs. Stack the slabs and add the extra blocks, but don't glue it to the model yet!
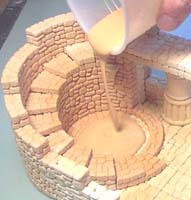
| 6. | Mix some plaster as you usually do and pour it into the pool area. Shake or tap the model to get the plaster to flow in nice and level. If the plaster thickens and doesn't reach the sides, spray the top with water and continue to tap the model until it levels out. If you would like a quiet pool of still water, leave the plaster just as it is. |
 |
 |
|---|
| 7. |
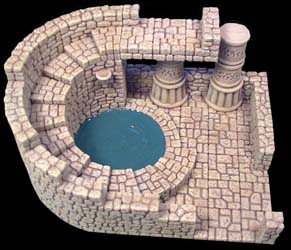
Glue the walkway into place after the model is painted. Paint the pool a blue-green color and make the top glossy by painting it with acrylic gloss medium or clear fingernail polish. |
 |
|---|
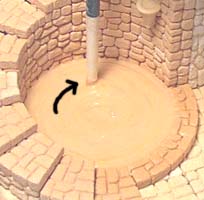 For ripples in the water, put a paint brush handle into the plaster and gently stir it as the plaster thickens. It won't take long for the plaster to set up.
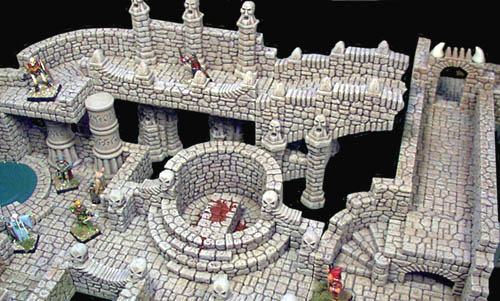
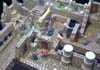
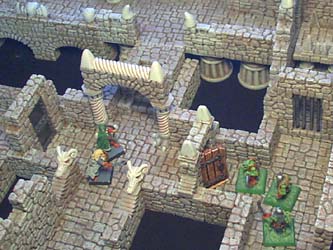
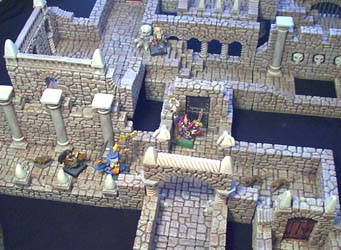
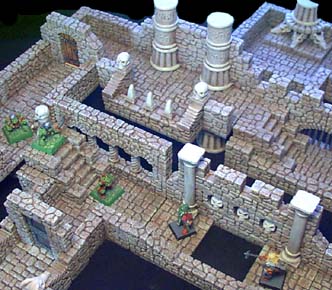
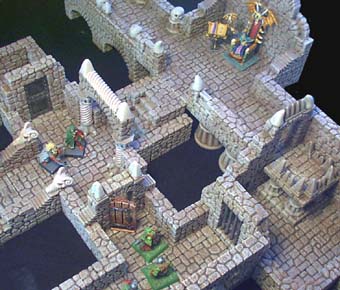
A Few Photos
Here's a few photos showing possible layouts of the dungeon. Hopefully there's enough variety in these dungeon building articles to give you ideas for your own custom pieces.
 |
 |
 |
 |
 |
 |